16.7.13

DIY VLuxury: Backless bra


We all have the same problem, you are trying on this beautiful dress/top, you look in the mirror and it appears to be backless and your bra is showing. For me it is a no go to wear something without a bra, it just does not feel right. This is why I did a little DIY project to create a backless bra. 


You need:
- An old bra
- Another bra
- Elastic band 
- Scissors
- Sewing machine / needle and thread

 Take your old bra en cut the parts at the end. 
 

 First measure how long your elastic band has to be, after cut it. 

Connect the elastic band and the end part of the bra with the sewing machine or needle and thread.


The backless bra has to be worn like this than it will be invisible if you are wearing something backless.


 BEFORE

AFTER
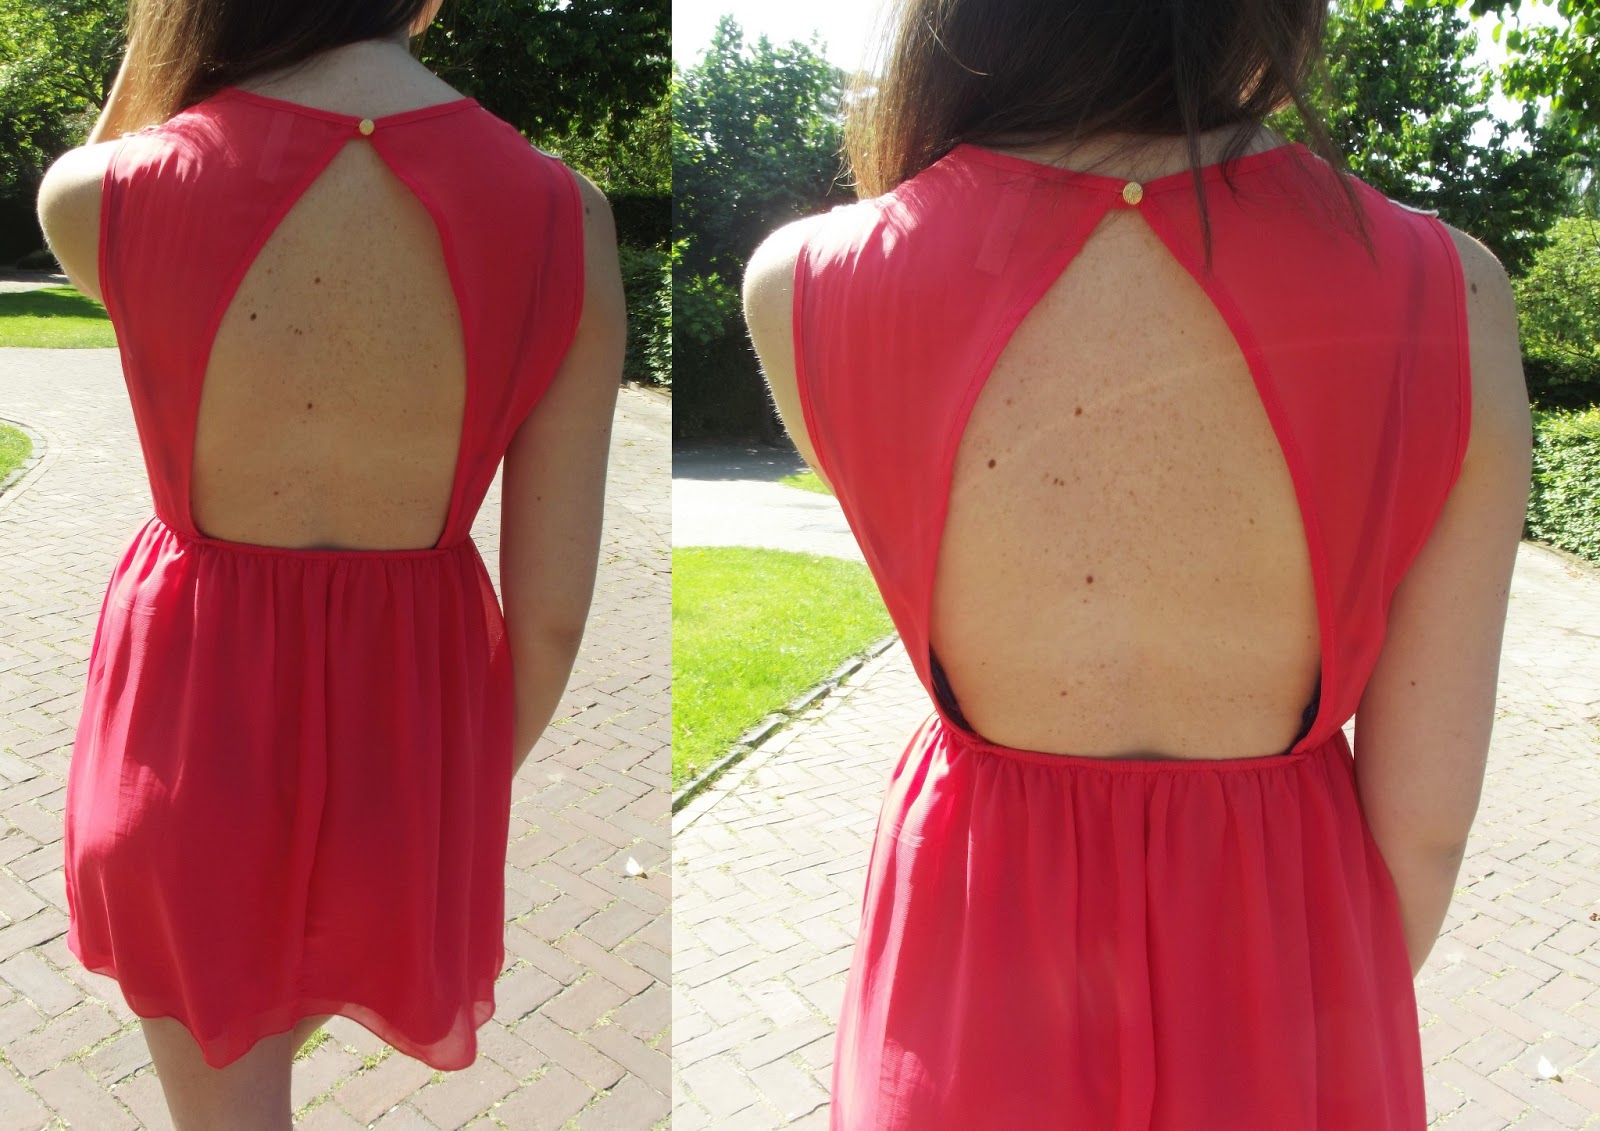
It is easy to make, but a must-need in a summer proof closet. 


13.7.13

DIY Luxury Inspiration: Sheer maxi skirt

I am in love with maxi skirts, but it is hard to find a perfect one for me, because I am pretty tall. This is why I was looking for some inspiration to make the perfect one myself. I fell in love with the sheer maxi skirt.


This high-low one is also really cute!

11.7.13

DIY VLuxury: Feather blazer (no sewing)


As I posted on Tuesday, I got inspired by the feather blazer of Olivia Palermo. Here is a DIY how the make one yourself. It is really easy, so lets get started!

You need:
- A blazer
- Feather fringe (I used 6 feather fringes of 50 cm (=19,7 inch) each)
- Fabric glue


Before:

I first pinned the feather fringes on the blazer to see what it looked like and to make sure that the whole bottom part of the blazer was filled. 

The next thing is taking your glue to connect the feathers to the blazer. You have to start with the lowest row and work your way up. 

Then you are already finished! Like I said really easy, but it looks so fashionable and cute.  


Bag: R&Em
Ring: Yves Saint Laurent
Shoes: Primark 

9.7.13

DIY Luxury Inspiration: Feather blazer

As seen on Olivia Palermo, one of my favorite style icons, I fell in love with the feather blazer. I started DIYing to make my own and I absolutely love how it worked out! Keep an eye on my blog, because on Thursday I will post how to make it.

here / here / here

6.7.13

DIY Luxury Inspiration: Beaded sandals

This weekend the weather is finally going to be better, so that is why I was excited about this picture with cute beaded sandals. Easy to make and soo summer ready!

Link

4.7.13

DIY VLuxury: Pink knot necklace

 A few months ago I posted inspiration for knot necklaces, because I think they are super cute for a summer day. Yesterday I was watching this youtube tutorial and decided to make one myself. I did it a little different, but overall it is the same idea. I already wore the necklace today and love love love the result! Hope you will enjoy it too! 

You need:
- Fabric 
- Chain
- Necklace closure
- Fabric glue
- Scissors
- Measuring tape

Take your fabric and cut four pieces of 30 inches long and 3 inches wide.


Secondly stretch the fabric.


Take the 4 pieces together, take a little piece of fabric and make a knot. 


Cut the extra fabric of the knot


Start making the knots. For this necklace I used the scooby doo knot. If you can not remember how to do that, I hope this will help you:


When you are finished, take again the four pieces of fabric at the end together, take a little piece of fabric and make a knot. 


Now you have to take a piece of fabric of 6 inches long and 2 inches wide and turn it around the ends of the necklace, so that you do not see the ugly ends. After you have to take another piece of fabric and pull it over, so that you can connect the chain to that piece. Next thing you have to do is again take a piece of fabric of 6 inches long and 2 inches wide and turn it around the end. 


The last thing you have to do is connect the chain to the necklace and connect a necklace closure. 


Love it!!

2.7.13

DIY Luxury Inspiration: Embellished shoes

This week I did some online shopping and saw these lovely shoes of Ivy Kirzhner. I did not buy a pair, because they were a bit to pricy, but I got some new inspiration for a DIY.


1. here / 2. here / 3. here / 4. here / 5. here / 6. here / 7. here / 8. here / 9. here / 10. here